Facelessvideo

Creator workflow

Choose how to make faceless youtube videos with ai

A faceless video generator can help you plan a video without filming yourself, but a useful YouTube upload still needs a clear idea, accurate script, suitable visuals and a final human review. Choose the path that matches the material you already have.

Check facts and rights before publishing
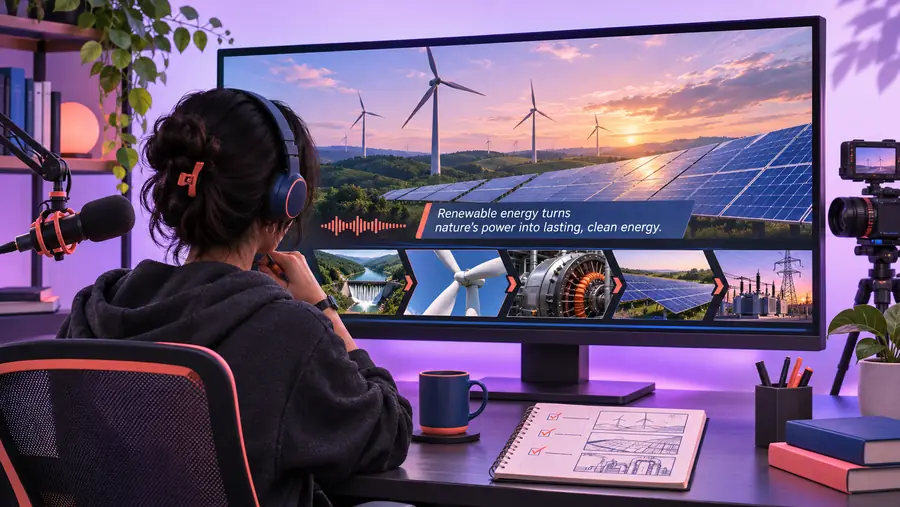
Facelessvideo landing-page illustration of a video creation workflow

Constraints to account for

AI assistance does not transfer responsibility for the finished upload. Resolve these limits before investing time in an edit.

It cannot verify your claims for you

A plausible narration can still contain incorrect dates, statistics or explanations. This matters especially for health, finance, history and news topics.

WorkaroundKeep a source list beside the script, verify each specific claim and remove statements you cannot support.

It cannot grant media rights

Finding or generating an image does not automatically establish that you may use every visual, music track, voice or clip in a YouTube upload.

WorkaroundCheck the applicable licenses and terms, record where assets came from and replace anything whose permitted use is unclear.

It cannot guarantee audience retention

A faceless video generator may suggest scenes, but generic imagery and repetitive pacing can make a well-researched topic difficult to follow.

WorkaroundGive every scene a purpose, vary the visual evidence and cut material that does not advance the explanation.

It cannot guarantee YouTube acceptance

A finished file still needs a policy review, an honest title and thumbnail, and a playback check. Platform requirements may change.

WorkaroundConsult current YouTube guidance and watch the exported video from beginning to end before uploading.

path A

Choose script-first when the value of your video is an explanation, story or researched answer. Build the narration before asking visuals to carry it.

Write for a specific viewer

State the question the video will answer, draft an opening that makes the payoff clear, then outline the points in a logical order. Ask AI for alternate phrasing or missing questions, not unquestioned facts. Read the draft aloud and replace stiff wording with language you would actually use.

Map each beat to evidence

For every narration beat, note what the viewer should see: a diagram, licensed footage, a screen recording, a caption or a simple graphic. If a visual adds no information, shorten the scene. Keep a record of sources and asset permissions as you assemble the plan.

Edit and listen without the screen

Assemble narration and visuals, then listen once without looking. If the argument is confusing, fix the script before polishing transitions. Watch again with the sound low to check whether on-screen text is legible and each image matches what is being said.
path B

Choose visuals-first when you already have a demonstration, original footage or a sequence of images. The table is a decision aid, not a claim that either path produces better results.

Path A: script-first Path B: visuals-first
1

Best starting asset

Path A: script-first

A researched question and a clear explanation

Path B: visuals-first

Footage, a demonstration or a useful image sequence

2

First task

Path A: script-first

Outline the viewer's question and draft narration

Path B: visuals-first

Sort assets into a beginning, middle and payoff

3

AI's useful role

Path A: script-first

Suggest structure, wording and scene possibilities

Path B: visuals-first

Suggest captions, narration beats and gaps to explain

4

Main editorial risk

Path A: script-first

Confident claims without adequate sources

Path B: visuals-first

Attractive shots without a coherent point

5

What to cut

Path A: script-first

Repeated explanation and filler visuals

Path B: visuals-first

Shots that do not clarify the sequence

6

Final review priority

Path A: script-first

Read the script against the source list

Path B: visuals-first

Check that narration accurately describes each visual

7

Good fit

Path A: script-first

Explainers, narrated stories and researched guides

Path B: visuals-first

Tutorials, process videos and visual comparisons

A visual planning checkpoint

Treat these as illustrations of two planning approaches, not as a literal transformation or a promised output from the linked tool.

Start with the video idea

Illustration associated with planning a faceless YouTube video
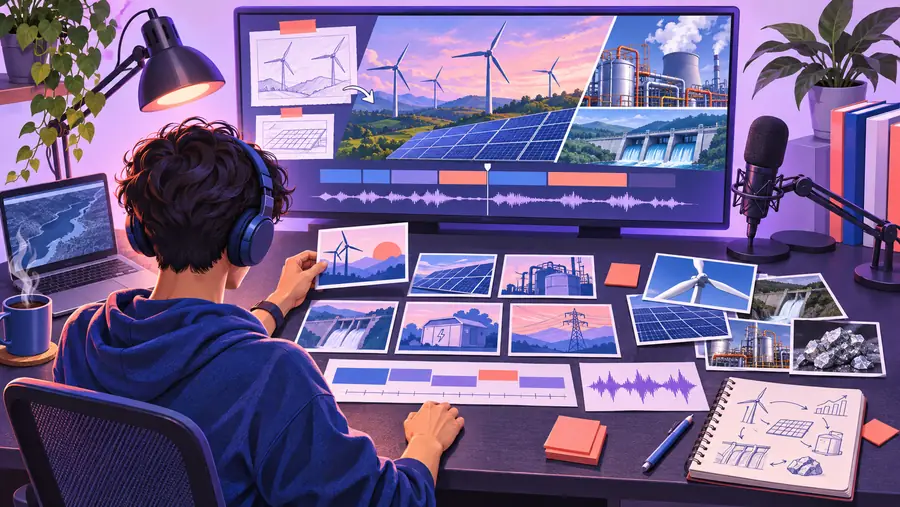
Illustration associated with a faceless video generator tutorial for YouTube
Plan the production steps

Whichever path you choose, write down what each scene must communicate before selecting effects or transitions.

Match the workflow to your role

Different creators can use the same faceless video generator workflow while making different editorial decisions. Pick an approach based on what your audience needs to understand.

Explainer creator

You have a researched question but no footage. Draft the answer first, then choose visuals that demonstrate each point rather than merely decorate the narration.

A script-first plan gives you a claim-by-claim review before editing begins.

how to make faceless videos with ai

Hands-on instructor

You already have screen recordings or process footage. Put the actions in order, identify moments that need explanation and write narration to fit what the viewer can actually see.

A visuals-first plan keeps instructions aligned with the demonstration.

faceless video generator tutorial for youtube

YouTube channel planner

You are comparing several possible topics. Test each idea with a one-sentence viewer promise, a source list and a rough scene outline before committing to production.

A repeatable planning checklist helps you reject weak ideas early.

faceless video generator for youtube

final check

Turn your outline into a reviewed video

Before uploading, watch the complete export on a phone and a larger screen. Confirm that the opening matches the title, spoken claims match your sources, captions are readable, audio is understandable and every visual is relevant and permitted for your use. If a faceless video generator helped create the draft, make the final editorial decisions yourself.

  • Check facts against your source list
  • Confirm permissions for visual and audio assets
  • Review the finished export before uploading

tutorial FAQ

Start with a specific viewer question, an outline and a short narration draft. Then plan a useful visual for each beat, such as an original diagram, a permitted image or a screen recording you make yourself. Check the script's claims and each asset's permitted use before editing.

Write the script first for a researched explainer or narrated story. Collect and sort visuals first when the video teaches a process you have already recorded. In either case, revise the narration and scene order together so they describe the same sequence.

You can plan a video around narration, captions or both, depending on the tools and permissions available to you. Do not assume a particular voice option is included in a tool until you check it. Listen to the finished audio and review the captions for names, figures and timing.

Check the terms of the tool that produced the visuals and YouTube's current rules for your intended use. Also consider whether a visual could mislead viewers about a real event, person or product. Keep records of your assets and replace anything whose status is unclear.

Verify factual claims, asset rights, audio clarity, caption accuracy and the match between narration and visuals. Watch the exported file rather than relying only on the editing preview. Review the title and thumbnail to make sure they represent what the video actually delivers.

Create a video Create